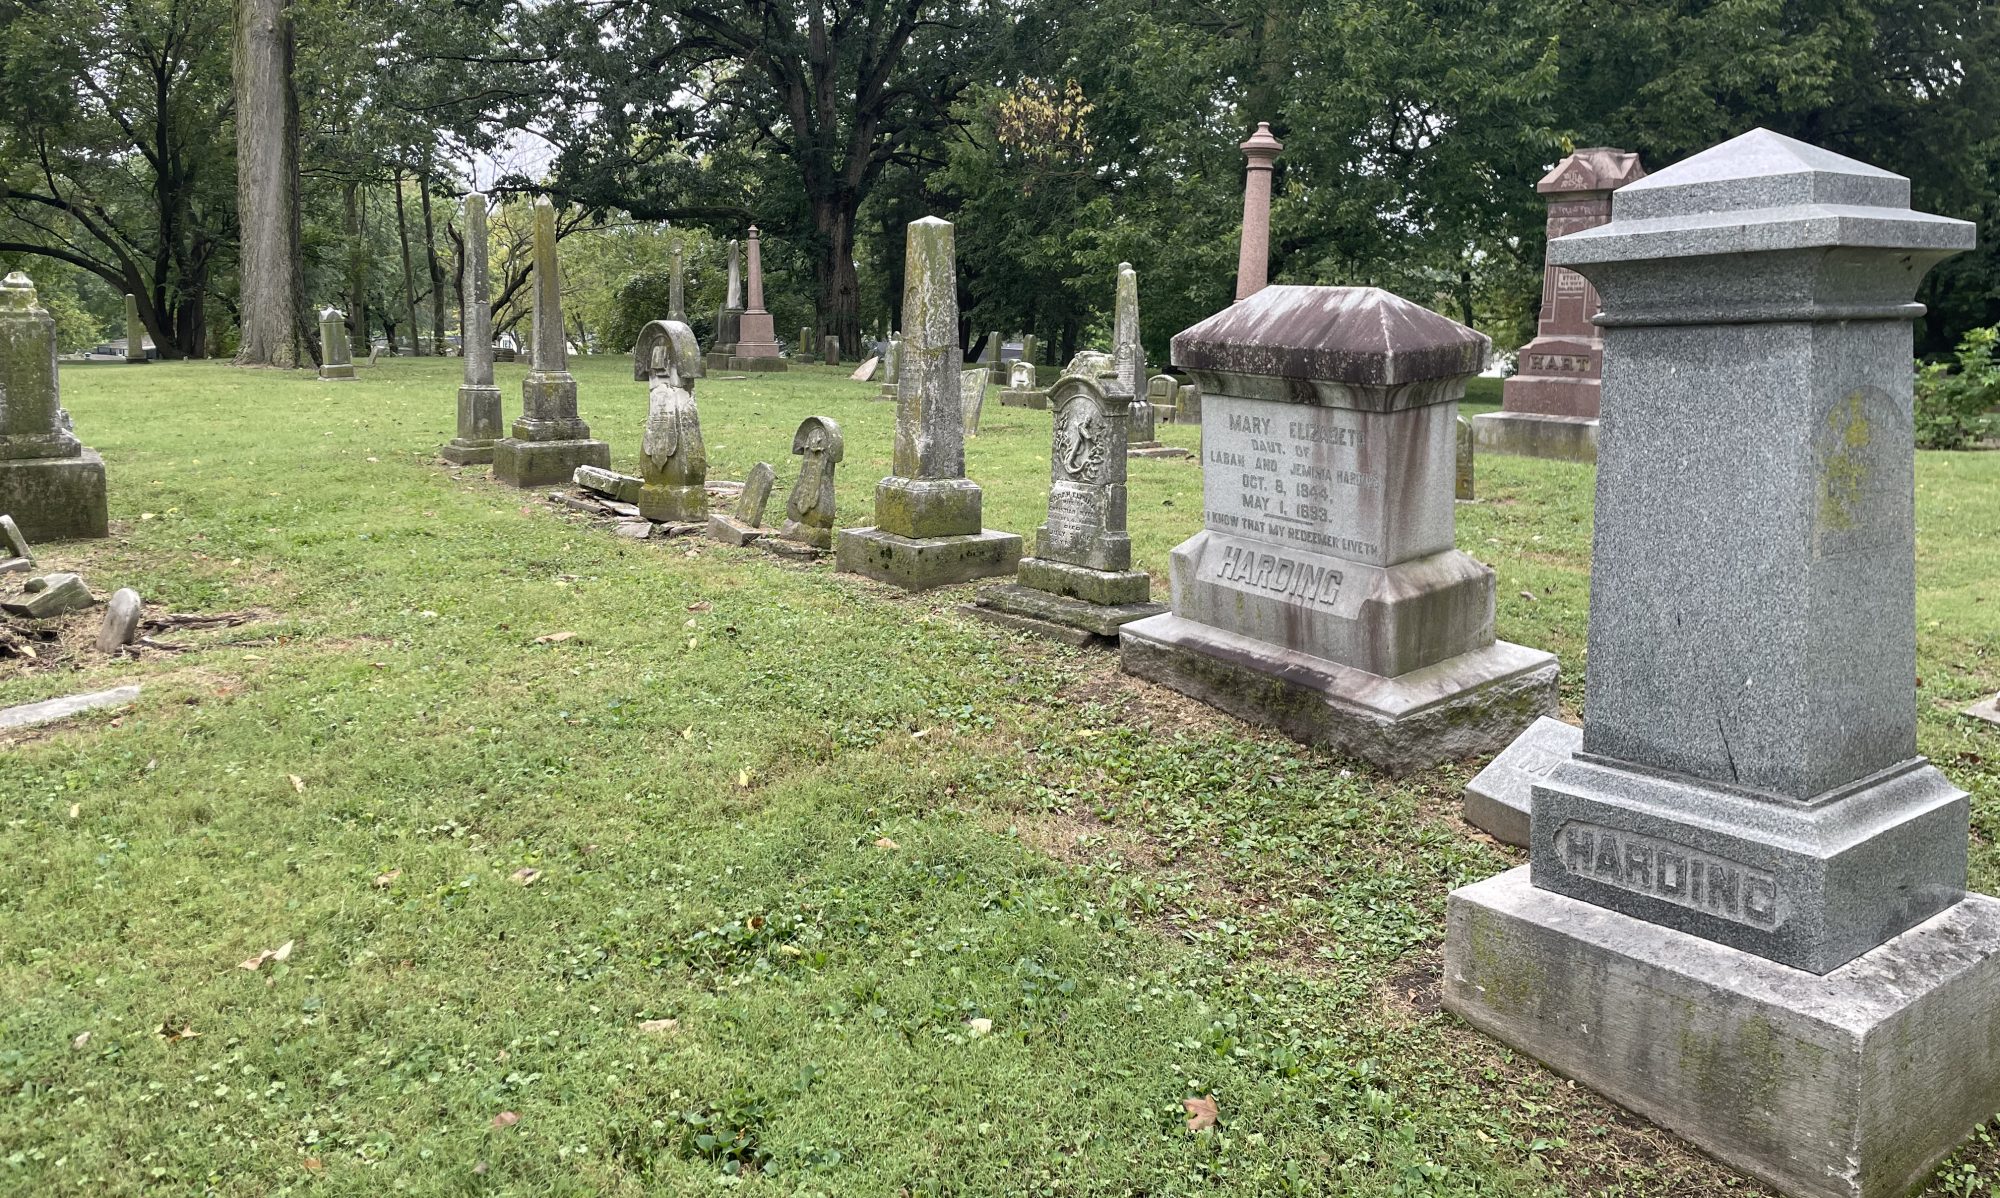

Cleaning a grave marker depends entirely on its condition and what needs to be removed. Above all, follow the golden rule of preservation: Do no harm. If cleaning threatens to damage the marker, stop.
Before beginning, identify your goals and the specific issues you are addressing.
Goals & Causes
- Primary Goals: Improve readability and conserve the artifact.
- Common Issues: Soiling, copper/ferrous metal staining, biological growth, gypsum crust, and graffiti.
Tools & Equipment
- Use: Soft Tampico natural bristle brushes and plenty of clean water for thorough rinsing. A 2 gallon pump sprayer is good for wetting and rinsing the marker. A standard spray bottle is sufficient for the cleaning chemical.
- Never Use: Power tools like pressure washers, abrasive pads, or nylon wheel brushes on a drill.
Treating Specific Cleaning Issues
1. Biological Growth (Lichen, Moss, Algae)
Biological growth is the leading cause of reduced readability. Lichen roots penetrate the stone substrate, causing micro-cracks that expand during freeze-thaw cycles. Removing growth protects the stone regardless of readability.


- Standard Treatment: A soft Tampico natural bristle brush and plain water.
- Biocides: For stubborn growth, use a biocidal cleaner like D/2 Biological Solution, Wet & Forget, or Revive by Prosoco. These products continue cleaning long after the initial scrub and rinse.
- Sugaring Markers: If a stone is experiencing granular disaggregation (“sugaring”), scrubbing is dangerous and will strip away material. Instead, spray with a biocidal cleaner and let wind and rain naturally wash away the dead growth before any consolidation treatment.
2. Soiling
Biocidal cleaners have little effect on standard soil. Often, plain water is enough. For tougher dirt, use Orvus WA paste. If biological growth is also present, a biocide can be used in tandem.

3. Ferrous Metal (Rust) Staining
Historic monuments were often held together with internal iron pins. As these rust and expand, they cause cracking, breaking, and rust stains.

- Treatment: Ferrous Stain Remover by Prosoco or a chemical poultice to lighten the stain (complete removal is not guaranteed).
4. Copper Staining
Oxidized bronze plaques often create green stains as rainwater carries runoff down the face of the stone.

- Treatment: A chemical poultice is the best approach, though complete removal cannot be guaranteed.
5. Gypsum Crust/Carbon Staining (Soot)
Found mostly in urban environments, gypsum crust is carbon buildup from vehicle and factory emissions.


- Treatment: Intermittent water misting. Gently mist the stone for several seconds, pause for several minutes, and repeat for 6 to 24 hours until the crust absorbs enough moisture to separate safely from the stone.
6. Graffiti/Vandalism
Graffiti must be addressed immediately to prevent permanent staining, using specific chemical treatments based on the paint type. This is not a DIY project—contact a professional restoration specialist right away.


7. Minor Stains
Uncommon issues like bird droppings, berry stains, or walnut juice can be treated with Vulpex soap or a poultice.
What Not To Do
- Never use bleach, acids or metal tools of any kind.
- Never use pressure washers or sand blasters.
- Never use nylon wheel brushes on a drill (such as Nyalox brushes).
Nyalox Wheel Brushes
These rotary brushes—historically popularized by some state preservation classes—act like sandpaper on historic stone. They strip away the protective exterior patina that seals the pores, leave behind visible vertical and horizontal scratch lines, and ultimately accelerate weathering and destruction on 150-year-old markers. Always insist on safe, traditional hand-cleaning methods.

This is an issue worth repeating: at least two active contractors in Indiana continue to use Nyalox abrasive wheel brushes on drills, despite being shown the evidence and warned that the method is entirely inappropriate. Because this method takes significantly longer than proper hand-cleaning, it artificially inflates project costs—meaning more money for the contractor at the expense of the cemetery or family footing the bill.
The Problem with Nyalox Brushes
Originally designed to strip paint from metal, Nyalox abrasive wheel brushes act like sandpaper on historic stone. They completely strip away the protective exterior patina that has taken decades to form. Once this natural barrier is removed, the vulnerable stone underneath is fully exposed to the elements, accelerating weather-driven destruction.

A 150 year old grave marker shouldn’t look like it was just carved and set. it should look 150 years old and well card for. Don’t pay someone to damage your markers.


The white substance in these three images is marble dust removed from the stone with Nyalox brushes. In the third image they did such a poor job of rinsing the marker the base is streaked with marble dust.

This marker was cleaned a few years prior to this photo. As the biological growth returned you can see the vertical and horizontal lines scratched into the marble with Nyalox. You can’t see these scratches unless you use a magnifying glass when the marker is initially cleaned. but the damage becomes obvious after time passes and the contractor has spent the money.

In 2015 I conducted a study to document the damage caused by Nyalox. This image shows my fingers before and after polishing the marker. Polishing is the second phase these contractors use. It’s done by using a Nyalox with a finer grit on a dry stone. It also doubles the time they have to spend on each marker which further increases the cost.
You don’t have to hire Stone Revival Historical Preservation, but please don’t hire contractors that use proven destructive methods, aren’t concerned about it and have several excuses ready to go. There is never a legitimate excuse to use inappropriate methods.
You must be logged in to post a comment.